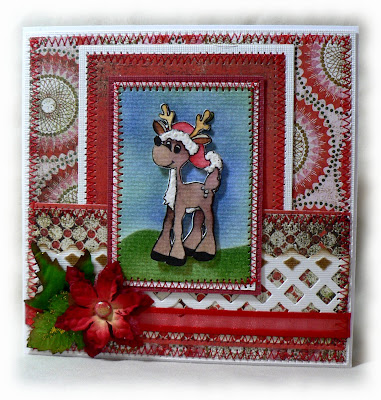
 Today is a new release day over at The Pixie Cottage store! Michelle is going to be revealing some wonderful new winter images just in time for your holiday card making endeavors. I know that you will love the new images, including reindeer, Jolly ol' Santa and much more!
I used this gorgeous fairy from illustrator Alisa Ramirez. I thought she would make the perfect Sugar Plum Fairy for our winter theme today.
I painted her dress, shoes, bow and wings with shimmerz and popped up her cute little head for a 3-D effect.
Hop on over to The Pixie Cottage blog and see the other beautiful cards the Design Team has put together. I know I was inspired!
Don't forget! You still have until midnight EST Sunday, the 25th to submit your card for the first Pixie Cottage Challenge! There are some wonderful prizes up for grabs.
Card Recipe
Stamp - The Pixie Cottage Ballerina Fairy
Paper - Basic Grey Eskimo Kisses
Cardstock - Bazzill and Gemstones
Ink - Versafine, shimmerz paints
Accessories - Sheer ribbon and snowflakes from my stash
Challenges
Basic Grey - Blue, green, red (eskimo kisses paper is blue, green, red)
La-La Land - Sparkle (sparkle in the embossing powder and clothes shimmer)
Whimsy Stamps - Emboss-abilities (image is heat embossed)
The Treehouse - embossing (image is heat embossed)
Our Creative Corner - inspired by your favorite holiday book or movie (Nutcracker!)
